
So, You’ve Got a Borescope? Here’s How to Use It Like a Pro!
Hey there! If you’re reading this, chances are you’ve got a handy industrial borescope ready to help you out. Maybe you’re excited to get started, or perhaps you’re wondering, “What’s the best way to use this thing?” Don’t worry – we’ve got your back.
In this easy-to-follow guide, we’ll walk you through the simple steps for using your borescope safely and effectively. And yes, we’ll even cover tricky situations (like working up high!). Let’s dive in.
Step 1: First Thing’s First: Safety Always Comes First!
Before you do anything else – and we mean anything – make sure the equipment you’re about to inspect is completely powered off. Safety isn’t just a word here; it’s your #1 priority. Double-check that the power is off so you can work with peace of mind.
Think of this as the “seatbelt” step — never skip it.
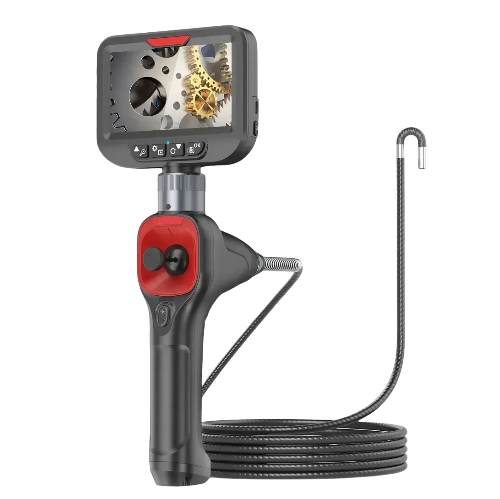
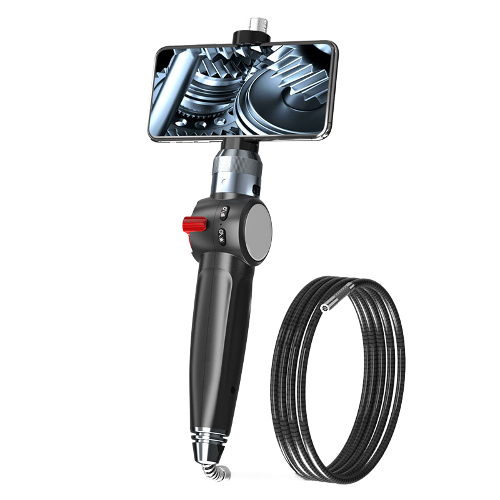
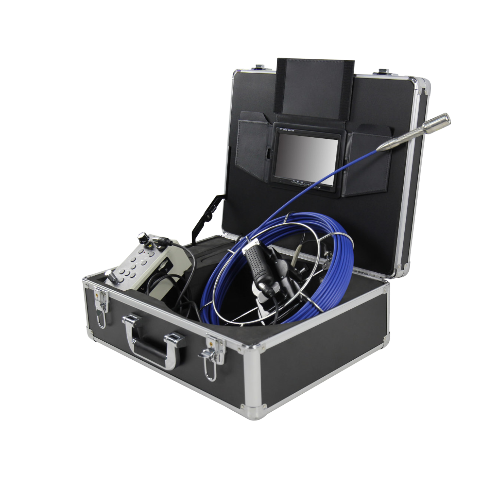
Step 2: Set Up Your Industrial Borescope
Next, start by reviewing the user manual – we know, it sounds boring, but it’s super helpful! follow your user manual to set everything up.
This usually includes:
Connecting the power supply or charging the device
Assembling any detachable parts
Selecting the right probe or camera head
Just take a minute to make sure everything is fully connected and ready to go.
Step 3: Power On and Check the Camera System
Turn on your borescope and do a quick system check.
Make sure:
The light source is working
The lens is clean
The camera feed is clear
Controls respond normally
It’s much easier to fix issues before you stick the probe into a tiny space.
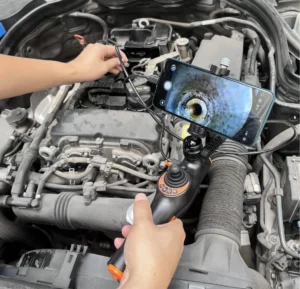
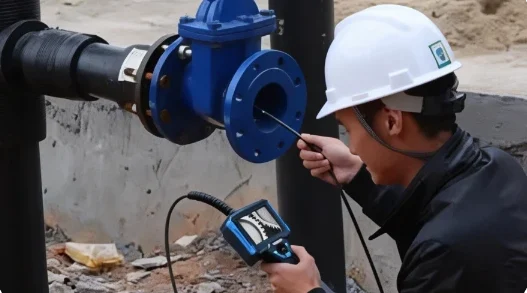
Step 4: Insert the Borescope Probe
Now the real fun begins.
Gently insert the borescope probe into the area you want to inspect.
Avoid forcing it — slow and steady keeps the probe safe and prevents damage to whatever you’re inspecting.
Step 5: Start Your Inspection
Use the display screen to navigate inside.
Move the probe around, adjust the lighting, and take a careful look at anything that seems unusual.
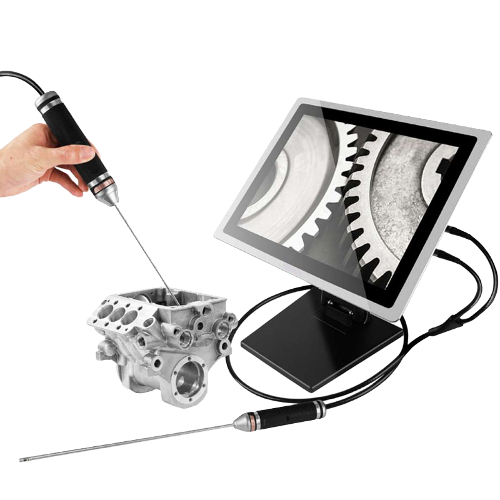
This is where the borescope proves its value — letting you see inside spaces that are otherwise impossible to reach.
Pro Tips: Master the Settings for a Clearer View
To get the best results, actively adjust your borescope’s key parameters based on the environment and target:
· Adjust Light Brightness: When entering a dark space, start with lower brightness to avoid overexposure or washed-out details at close range. As you go deeper or need to illuminate darker, distant corners, gradually increase the brightness. If inspecting shiny metal surfaces, slightly reduce brightness to minimize glare and reveal defects like cracks or corrosion more clearly.
· Control Camera Direction: If your borescope probe is articulating (with a steerable tip), make full use of it. Use the joystick or controls to gently and slightly adjust the camera angle. This allows you to look around corners, examine side walls, and inspect areas not directly in front of the probe, significantly expanding your field of view with a single insertion.
· Utilize Image Enhancement Features: Many borescopes offer image modes (like auto-exposure, low-light enhancement, or high-contrast mode). In areas with tricky lighting or low contrast, switching between these modes can instantly improve image quality, making hidden defects much easier to spot.
Step 6: Record Your Results
If needed, take photos or videos of what you discover.
Most industrial borescopes make it easy to save images, and keeping a record helps with:
Future repairs
Maintenance documentation
Comparing “before and after” conditions
A quick note or label on each image can save you a lot of confusion later.
Step 7: Remove the Probe Carefully
Once you’re done, slowly pull the probe back out.
Be extra gentle — the camera head is delicate, and rough handling could damage the lens or cable.
Think of it like rewinding a tape measure carefully instead of letting it snap back.
Step 8: Clean Up and Store Your Borescope
Wipe down the probe, coil the cable neatly, and store everything properly.
A well-maintained borescope lasts longer and performs better during every inspection.
And just like that — you’ve completed a full, clean inspection process.
Q&A: What If You’re Working in a Hard-to-Reach or High-Place Area?
Great question — because not every inspection happens in a comfortable workspace.
Let’s say you’re on a ladder, holding onto a safety rail with one hand. How do you check anything with a borescope when you barely have two free hands?
It sounds tricky, but there’s an easy workaround.
Go Hands-Free with the Monitor
Just fix the borescope monitor somewhere close to your line of sight.
Here are simple examples:
●Tape the monitor to the ladder’s side rail
●Clip it onto a shelf or beam
●Place it on a nearby step where you can see it clearly
This way, one hand stays on the ladder for safety, and the other can guide the probe inside the inspection area.
If needed, you can quickly adjust brightness or angle using the hand that’s already holding the ladder.
Remember — safety always comes first, and there’s always a way to make things easier.
If you have other questions about how to use your borescope, how to troubleshoot issues, or how to handle special inspection scenarios, feel free to leave a comment.
Let’s figure it out together!